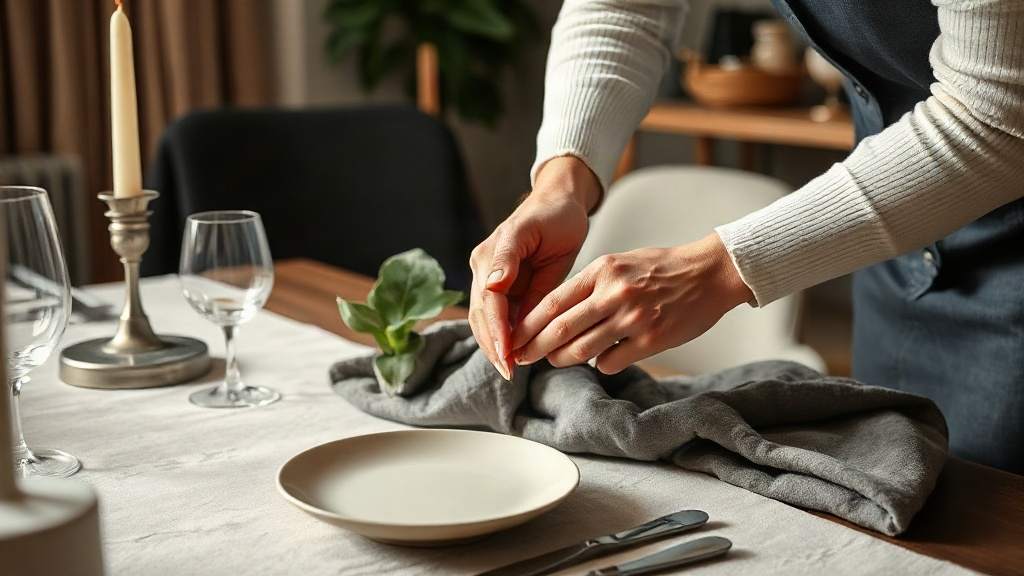
You set the plates down, step back, and something feels flat. Learning how to Style a Dining Table Like a Luxury Interior Designer is less about buying expensive pieces and more about layering with intent. Designers build a table in deliberate stages, from the base layer up.
Quick answer: Start with a protective runner or cloth, anchor the center with one sculptural piece, add height with candles or branches, then balance everything with low accents. Keep the palette to two or three tones and leave negative space so the table breathes. Symmetry and restraint matter more than the budget.
This guide walks through the exact layering sequence we use when styling client tables, the tools you need, and the mistakes that flatten a room. By the end, you will know how to build a table that looks intentional in under an hour.
What you need before starting
Luxury styling rewards preparation. Gather everything first, so you can adjust without leaving the table.
The layering toolkit:
- A runner, tablecloth, or set of woven placemats
- Chargers or dinner plates in a neutral base tone
- One centerpiece anchor: a vase, bowl, or sculptural object
- Two to four candles in matching or graduated heights
- Low accents: small vases, sprigs, fruit, or a stack of art books
- Linen napkins and rings
- A measuring tape and a lint-free cloth
Measure the table and the centerpiece first. On a six-foot table, your centerpiece should run roughly one-third of the length. We measure before shopping because oversized vases crush the proportion of a narrow table. This single step separates a professional look from a cluttered one.
Choose a two-tone palette with one accent. Cream and warm wood with a single green or brass note reads far more expensive than five competing colors. Pull tones from the room’s existing rug, art, or curtains.
Match your candle heights to the table width. Tapers work on long tables, while low pillars suit round or narrow tables where tall flames block conversation.
Check your lighting. Warm bulbs (around 2700K) flatter linen, food, and skin. Harsh overhead light flattens every texture you just spent time layering.
Set a realistic time buffer. A basic layered table takes 30 to 45 minutes. Allow an extra 20 minutes if you are hosting, so you can refine instead of panic.
Run a quick check on the surface itself before you layer anything. Wipe the table with a slightly damp cloth and dry it, then feel for grit that could scratch a finish under a runner. If the wood is unsealed, plan a felt pad under every hard object, including candle bases and the centerpiece, so weight and heat never sit directly on the grain. Note the table’s depth as well as its length, since a deep table can take a wider centerpiece while a shallow one needs narrow pieces to keep room for plates. Decide whether you are styling for a seated dinner or a sideboard-style display; the two demand different footprints, and settling that question first prevents a last-minute rebuild.
Step-by-step instructions
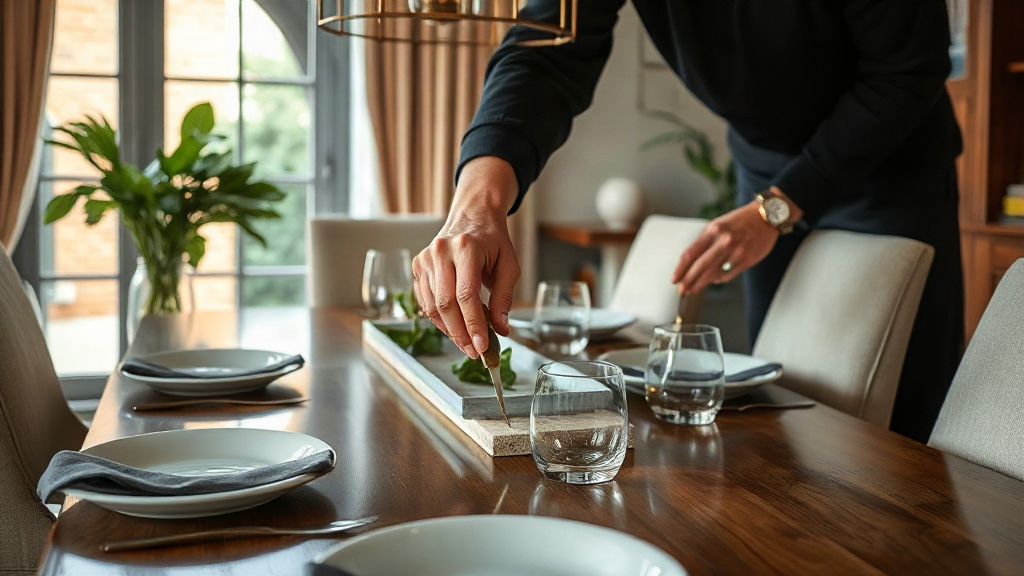
Follow this sequence in order. Each step builds on the last, so resist the urge to jump ahead.
Before you commit to the centerpiece position, set two plates opposite each other and sit down in each chair. From that view, confirm the tallest object stays below your line of sight and that nothing blocks the person across from you. Adjust the anchor an inch or two until both seats feel equally balanced, then move to the next step. This two-minute check catches proportion problems that no amount of accessory tweaking can fix later, and it keeps the rest of the build on track.
Step 1: Lay the base layer
Roll out your runner or placemats first. Keep edges aligned and centered, because a crooked runner throws off every layer above it. Smooth the fabric with your hands, then run a lint-free cloth over it.
Step 2: Anchor the center
Place your largest piece at the exact center of the table. A single vase, bowl, or sculptural object becomes the visual anchor. This is the piece the eye lands on first. Do not add anything else yet.
Step 3: Set the plates and chargers
Position each charger about two inches from the table edge. Stack the dinner plate directly on top. This margin is the line guests expect, and consistent spacing looks polished from every angle.
Step 4: Build height with candles
Frame the centerpiece with candles of varying heights. Group them in odd numbers, because odd clusters feel natural to the eye. Keep the tallest element below sightline so guests can see across the table.
Step 5: Add the low accents
Fill the leftover space with small, low details. Think sprigs of greenery, a cluster of fruit, or a shallow dish. These accents soften the strong lines of the centerpiece and plates.
Step 6: Fold and place the napkins
Fold linen napkins into a simple roll or relaxed square. Place them on or beside each plate. Skip stiff fan folds, since soft, casual folds read more modern and expensive.
Step 7: Light and refine
Light the candles and step back three feet. Squint to check balance, then adjust anything that draws the eye too hard. Successful styling is quiet, so remove one item if the table feels busy.
Tips for better results
These refinements are what separate a good table from a showroom-level one. In our testing, small adjustments made the biggest visible difference.
Build the table under the light it will actually live in. A vignette that looks balanced in afternoon sun can turn harsh under a chandelier, so do your final adjustments at dusk with the overhead light off and the candles lit. If your dining room has a dimmer, set it near 60 percent, which softens shadows on linen and makes wood grain read richer. Photograph the finished table from the seat a guest will take, not from standing height; the seated view exposes gaps and leaning objects you will miss from above.
Treat your table as a grid rather than a blank field. For each guest place, the centerline of every charger should sit the same distance from the edge, and glassware should fall on a consistent diagonal up and to the right of the plate. If you are not setting glassware yet, line up the napkins to that same invisible diagonal so the setting already feels resolved. Run a length of painter’s tape along the table edge at your chosen margin before placing plates; it keeps the spacing honest and peels off without a mark.
Give metal a single finish per table. Mixing brass, bronze, and silver in one composition splits the eye and makes even costly pieces look assembled rather than chosen. If you want warmth, commit to aged brass for candleholders, napkin rings, and the vase rim. Matte finishes photograph better than high polish, which mirrors the room and creates distracting highlights.
Take one reference photo of a table you admire before you start, and keep it on your phone. Compare your finished layout against it side by side rather than trusting memory. Most often the gap is not the accessories but the empty space; professionals leave about one-third of the surface untouched.
Work with the rules of three
Group accents in threes: three candles, three small vases, three sprigs. Odd numbers create visual rhythm without feeling rigid.
Use texture over pattern
Layer linen, wood, ceramic, glass, and metal rather than mixing many bold patterns. Texture catches candlelight and gives the table depth. Pattern can be an accent, but texture should be the story.
Leave breathing room
Negative space is a design feature. Bare wood between the centerpiece and plates makes every object look intentional. Crowding signals a threshold mindset, while spacing signals confidence.
Mirror the room’s mood
A modern room wants clean lines and one sculptural focal point. A traditional room welcomes layered plates and richer centerpieces. Style for the space you have, not a magazine spread.
Swap seasonal touches
Rotate the accent color and one or two low pieces each season. Keep the base layers and anchor constant, so restyling becomes a ten-minute afterthought.
Common mistakes to avoid
Even diligent stylists hit these traps, so watch for them early.
Buying the centerpiece before measuring the sightline. Sit at one end of the table and mark where your eye naturally lands across the surface. Anything above that line breaks the table into separate rooms. A common fix is to swap tall tapers for short pillars and shift the height into a low, wide bowl that reads as generous without becoming a wall.
Ignoring seat width. A place setting needs roughly 24 inches of table edge to feel comfortable. Squeeze chairs in at 20 inches and the plates crowd, elbows collide, and no amount of styling rescues the experience. Count your usable inches, divide by guests, and let that number decide your plate size and accessory footprint.
Forgetting the chairs. Designers check the seat fabric against the table dressing before the first plate goes down. A dark wood table with an olive linen runner wants warm neutrals on the chairs; a pale table with white ceramics can carry a darker, saturated seat. Look at the whole room from the doorway rather than staring down at the tabletop.
Styling cold and hollow. All glass and metal with no organic element reads as a showroom display rather than a room people want to eat in. One branch, one stem, or a single piece of fruit brings life. Conversely, avoid using strongly scented flowers at a table where food is served; scent competes with the meal and is a frequent host complaint.
Building too tall
A centerpiece taller than about 14 inches blocks conversation and dominates the view. If you cannot see the person opposite you, scale it down.
Skipping the base layer
Without a runner or placemat, plates look like they are floating on bare wood. The base layer frames the whole composition.
Mixing too many colors
Four or five colors split attention and read as clutter. Commit to a two-tone palette with one accent.
Cluttering the space
Every gap filled with decor looks busy. Empty wood is part of the design, not a failure.
Ignoring proportions
An item that is too small disappears; one that is too large crushes the table. Measure before you buy, and test placement before the event.
Forgetting maintenance
Dust, fingerprints, and unironed linen undo a beautiful layer. Wipe glass, press linens, and check candles for drips before guests arrive.
Over-styling for daily life
A styled table needs upkeep, so build a simplified version for everyday use and scale up for occasions.
FAQ
How much does a styled dining table cost?
You can build a polished table for under $50 with a runner, candles, and greenery, while designer accessories push the total well into the hundreds. In our experience, tone and proportion matter far more than price. Reuse what you own and buy only one anchor piece.
How long does it take to style a table?
A basic layered table takes 30 to 45 minutes the first time. With your toolkit ready, off-season restyling takes about 10 to 15 minutes once you have set it once.
Do I need a tablecloth for a luxury look?
No. Many high-end looks rely on bare wood with layered runners and placemats. Both styles look premium when the base layer is clean, aligned, and the right size for the table.
Is a centerpiece required?
Not strictly. On narrow tables, designers often use a pair of candlesticks or a low bowl instead of a full centerpiece. Choose the largest piece that still leaves room for plates, glassware, and conversation.
Can I style a small dining table?
Yes, and restraint matters more there. Keep the centerpiece low and narrow, use two candles instead of five, and protect the setting zone. A small table styled with negative space looks larger and calmer.
Conclusion
Those who know how to Style a Dining Table Like a Luxury Interior Designer follow a sequence because it produces calm, not clutter. Base layer, anchor, height, low accents, and finishing details, all built on a two-tone palette with intentional empty space. We have seen modest pieces outperform costly ones purely through proportion and restraint.
Your next action is simple: set the table tonight with items you already own. Start with the base and anchor, then add one height element and one low accent. Photograph it from across the room and adjust anything that draws your eye too hard. That small habit will sharpen your eye for the next occasion.